Removable Media Object for Canvas 
NOTE: For Canvas Series only. For all other series see Removable Media Object .
See also: User Interface
See also: Graphic Object Toolbox for Canvas Series
Topic Menu
Overview of the RM Object
This tool allows configurable access to the Removable Media card. The Removable Media Object can be accessed through the Screens Project Toolbox > Touch Objects > Removable Media. User must be on a Screen and not in the Main work area in order to see the Objects Project Toolbox items.
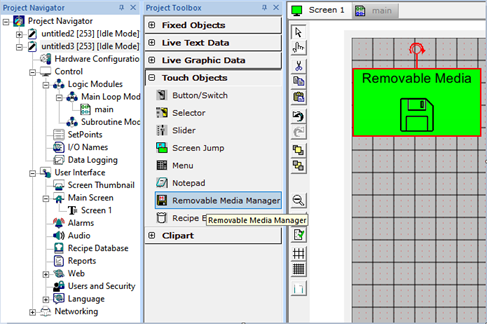
The Removable Media Object provides both visual information about the status of the attached flash card and provides an entry point to the Removable Media directory. The status information is shown as one of three background colors which signify if the Removable Media card is accessible, if the card is close to being full, or if the card is not accessible (remove, invalid format, invalid card type). If the object is touched and is enabled, the Removable Media directory will be displayed. When the directory is dis- played, certain ’permissions’ are passed from the Removable Media object such as which controls are enabled and the Current Working Directory (CWD) to open the directory in. The Removable Media object also has the typical Attribute functions.
Removable Media Object Properties
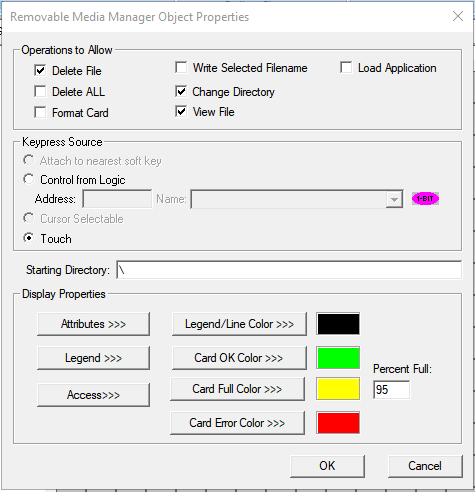
Operations to Allow
Specifies which directory controls are enabled when zooming to Removable Media directory. This allows limited control by operators.
Delete File - If checked, allows option of deleting a single file or folder when Removable Media is accessed using this object.
Delete ALL - If checked, allows option of deleting all files and folders on the card when Removable Media is accessed using this object.
Format Card - If checked, allows option of formatting the Removable Media card when Removable Media is accessed using this object.
Write Selected Filename – If checked, allows the complete file path of the selected entry to be written to the File Select register array (see File Select ). That file can then be opened in ladder using the provided file path. Filenames with extensions of .PGM, .BMP, or .JPG may only be selected if their respective view operations are NOT enabled. If the File Select register has NOT been configured, an error message is displayed. See also: File Select
Change Directory - If checked, allows option of navigating through directories that are below (subdirectories of) the Starting Directory when Removable Media is accessed using this particular object. Never is the user allowed to navigate to a directory above the Starting Directory.
View File - If checked, allows option of viewing Bitmap and JPEG files in certain formats when Removable Media is accessed using this object.
Load Application - If checked, allows option of loading a .pgm file saved to the card by Cscape , overwriting the existing program.
Keypress Source
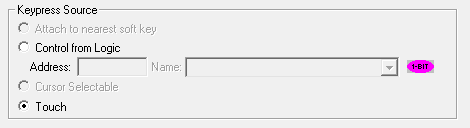
Specifies whether touch (non-touch: softkey or cursor selectable) or optional auxiliary input is used to trigger Removable Media directory.
Starting Directory

Specifies the virtual current working directory displayed in the Removable Media directory. The operator is not allowed to trans- verse to directories above this path. If the path is non-existent, an error message is displayed (see Removable Media directory). By default, starting directory will be with “\” to access content in SD card slot. To access SD card content, we can specify as “A:\” also. To access content in USB drive we need to specify “B:\”. See also: Removable Media Directory
Note: The Starting Directory is affected if using Multiple Languages. If the same directory is to be used regardless of language selection, then the same path must be specified for each language when setting up Multiple Languages.
Display Properties for Removable Media

Attributes>>>
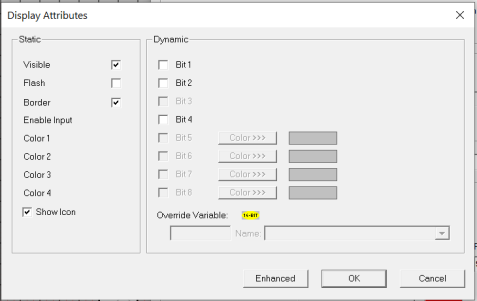
Static
Visible
-
Touch units** - the visibility attribute may be set as static or dynamic.
-
**Touch Units include all Canvas series controllers.
-
-
When the attribute is statically set to ON, the object is always visible and always responds to touch signals.
-
When the attribute is statically set invisible (unchecked) the object is not drawn but if the object is the front most object it responds to touch signals. For example, placing a statically invisible screen jump object in front of a bitmap allows the bitmap to be drawn but touching the location of the invisible screen jump causes the screen jump action to be performed.
-
When this attribute is dynamically enabled the visibility of the object is controlled by the associated bit in the override register. When the bit is ON the object is drawn and operates normally. When the bit is OFF the object is not drawn and does respond to any touch signals.
Flash – When statically set, an object will ’Flash’ the data display continuously or the animation ICON when the associated control register is in the ON state. When dynamically overridden, a three-state display can be created: OFF, ON solid and ON flash, depending both on the state of the control register and the Override Register.
Border – This attribute, available only statically, provides a decorative border (rectangle) drawn around the inside of the objects bounding rectangle. This border is typically removed to allow either a more elaborate border to be drawn with the drawing primitives or no border at all.
Enable Input – This attribute, optionally available only as dynamically overridden, allows the object or the object editor to ignore keystrokes directed to that object. This allows run-time determination on whether to restrict input access to that object. This allows the user to create operator privilege or in-motion lockout of object modification. If this box is NOT checked, the associated object always accepts input.
Dynamic
Color – Color can’t be changed dynamically.
Override variable – This register/variable is used to control the dynamic properties like Visible, Flash, Enable Input and Colors.
Enhanced - Selecting Enhanced button displays the following window:
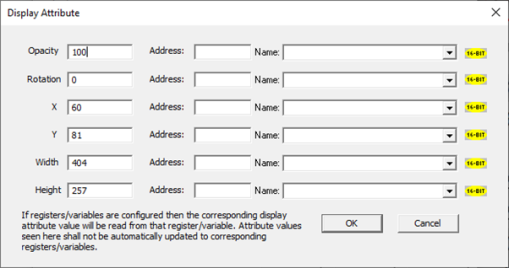
This option is used for configuring the different display attribute of graphic objects mentioned below. The following options can be configured either using constant values or via register / variable.
-
Opacity – User can configure the display opacity of graphic object. Range is 0 to 100.
-
Rotation – User can configure at what degree the object should appear rotated. Range is -180 to 180.
-
X and Y axis – User can configure at what X and Y axis the object should be placed on the screen. Range depends on the model selected.
-
Width and Height – User can configure at what width and height the object should be displayed on the screen. Range depends on the model selected.
Legend>>>
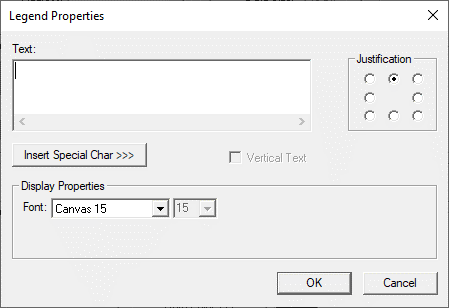
Text – User can configure a descriptive text (legend) to be included with-in the objects bounding rectangle. Returns may be inser- ted for multiple lines.
Justification – This option is used to display the legend text in the configured position within a graphic object.
Font – User can select the available fonts/font size to be applied to legend text.
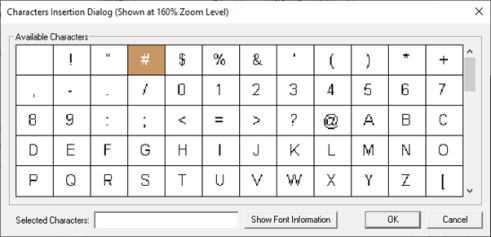
Insert Special Char >>> - Selecting this option displays the following window wherein user can select different fonts / special characters available to be added in legend:
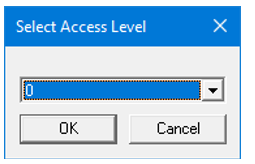
Access>>>
User can select access level from 0 to 7 in the drop down as shown. User logged in with the configured Access level (of graphic object) only will have access to that particular graphic object.
Note: Default access level is 0 (Zero) for all the access level supported graphic objects.
See also: Security & Passwords
Legend/Line Color >>>
Selecting Legend/Line Color >>> option displays Color Picker for user to select the color and this will be applied to the legend and line (boundary) of the graphic object.
Color Picker
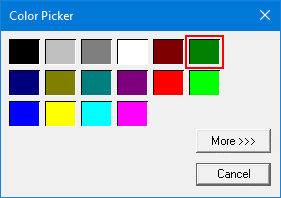
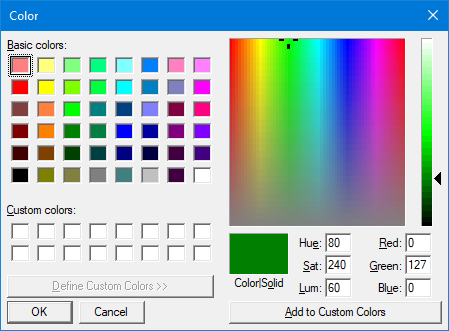
Selecting More >>> displays the following window allowing user to select color apart from default colors available in the above displayed color picker window.
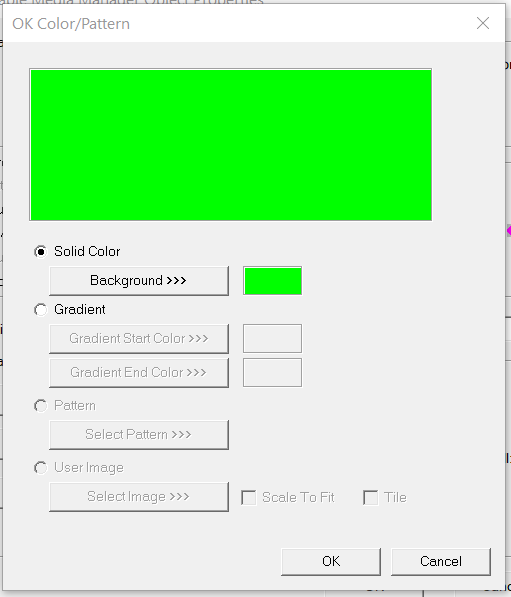
Card OK Color >>>
Card Full Color>>>
Color (or attribute) used to paint background of object if Removable Media is filled at or above the limit specified with the Percent Full specification (0 to 100 equals 0% to 100% respectively).
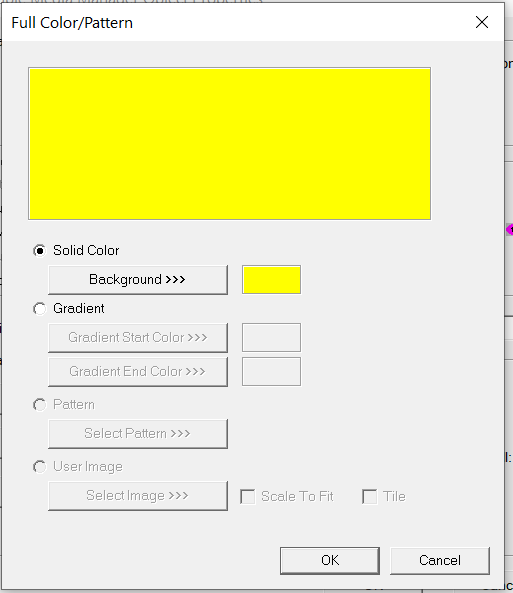
Selecting either Solid Color, Gradient, or Background>>> will open the Color Picker.
Card Error Color>>>
Color (or attribute) used to paint background of object if Removable Media card is not accessible. The specific error type is displayed on the Removable Media directory or through %SR176.
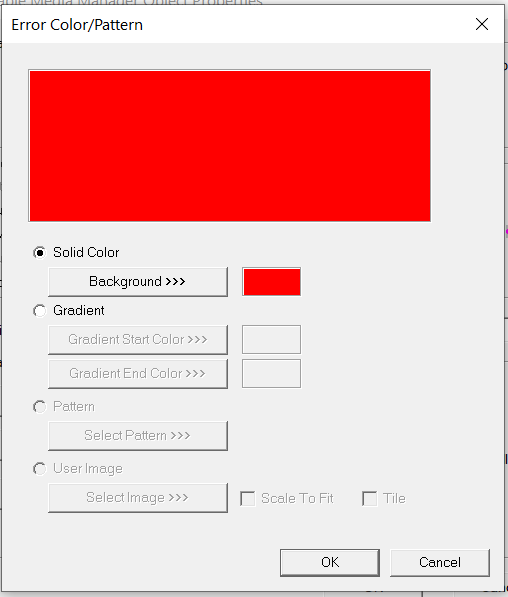
Selecting either Solid Color, Gradient, or Background>>> will open the Color Picker.
Return to the Top: Removable Media Object for Canvas
Removable Media Directory
The Removable Media directory is a utility that allows the operator to access information on specific files, which exist on the Remov- able Media card. In addition, the operator may optionally be given permission to transverse directories, delete files and perform a complete card format. Each directory entry specifies each file’s name, size, time and date of last modification. Additionally, sum- maries of both the free and total byte space limitations are displayed. The directory is refreshed automatically with file changes com- pleted in ladder logic.
Unable to Access - When entering the Removable Media directory, the display first verifies the status of the Removable Media card. If it is unable to access the card, an appropriate error message is displayed on the list:
-
CF Error - Card Not Present
-
CF Error - Bad Format
-
CF Error - Invalid Type Card
Note: With exception of Bad Format, all control keys are disabled
Able to Access - If the card is accessible, the specified directory is accessed. If the directory does not exist, or the pathname size is exceeded, or the directory has no entries, the following error message is displayed on the list.
-
Directory path does not exist
-
Path exceeds buffer space
-
Directory Empty
-
If the card has valid entries, they are now listed on the display.
Selecting File or Directory - Scroll up or Down to move to the desired file or directory and select.
Zooming to a Directory - Double click on desired Directory to open and view the content of the directory.
Errors:
-
Directory path does not exist – Directory was removed by ladder object.
-
Path exceeds buffer space – Attempt to delete file with total path greater than 147 characters.
Deleting all files and sub-directories - To Delete all files in the card, click on the Delete icon. If an error occurs, that particular file or directory will not be remove (however, no error message will be displayed).
Format Disk - This selection allows the Removable Media card to be formatted in a DOS compatible FAT16 format. To Format the card, click on the Format Disk icon [ a memory card with a gear].
Warning: Formatting removes all data and directories from the card.
Note: Cards formatted for the OCS from PC Card Readers must also be in FAT16 format (MS Windows typically selects FAT32 by default). When formatting through the OCS, a volume label of OCS CF DISK is created; earlier versions create Horner OCS.
Return to Calling Removable Media Object - To return from Removable Media screen click on the Home icon.
Eject Card - To eject card, click on the Eject icon. It is always recommended to eject the card before removing the card from the controller.
Icon/Tile View - The files available in the microSD card can be viewed in Icon or Tile style. To change the style, click on the icon available on the top right corner in the Removable media screen.
![]()
Return to the Top: Removable Media Object for Canvas